Using ACH (Automated Clearing House) for rent payments offers a safer, faster, and more convenient option than paying by check or cash. ACH payments are processed electronically, reducing the risk of lost or stolen checks and eliminating the inconvenience of making in-person payments.
When you set up autopay to cover your full invoice balance, you’ll enjoy a hands-free automated service that guarantees timely payments. By using autopay in this way, you will never have to deal with a late payment fee, ensuring you always make the correct payment amount, even when rent escalations go into effect, which results in a positive payment history.
Finally, ACH transactions provide clear digital records for both you and your landlord. Overall, ACH payments offer enhanced security, efficiency, automation, and reliability.
How Landlords Should Guide Tenants Through ACH Setup
As a landlord or property manager, the easiest way to ensure tenants set up ACH payments correctly is to direct them to this knowledge base article.
This article is written specifically for tenants and walks through the full ACH setup process step by step, including entering bank details, verifying accounts, and understanding how payments are processed.
By sharing this article with your tenants, you can:
- Reduce back-and-forth questions during setup
- Ensure ACH information is entered accurately
- Help tenants complete setup faster and with confidence
Tenants should follow the instructions in this article directly when enabling ACH payments in STRATAFOLIO.
How To Set Up Payment as a Tenant
Once your landlord/property owner completes their set-up process, you will be invited to the Tenant Portal to set up your ACH Payments. For our US-based customers, the Tenant payment option allows ACH payments to be made on a one-time or recurring basis.
NOTE: Your landlord/owner must generate an invoice before you can initiate a payment.
1. Accept the Invitation to Your Tenant Portal
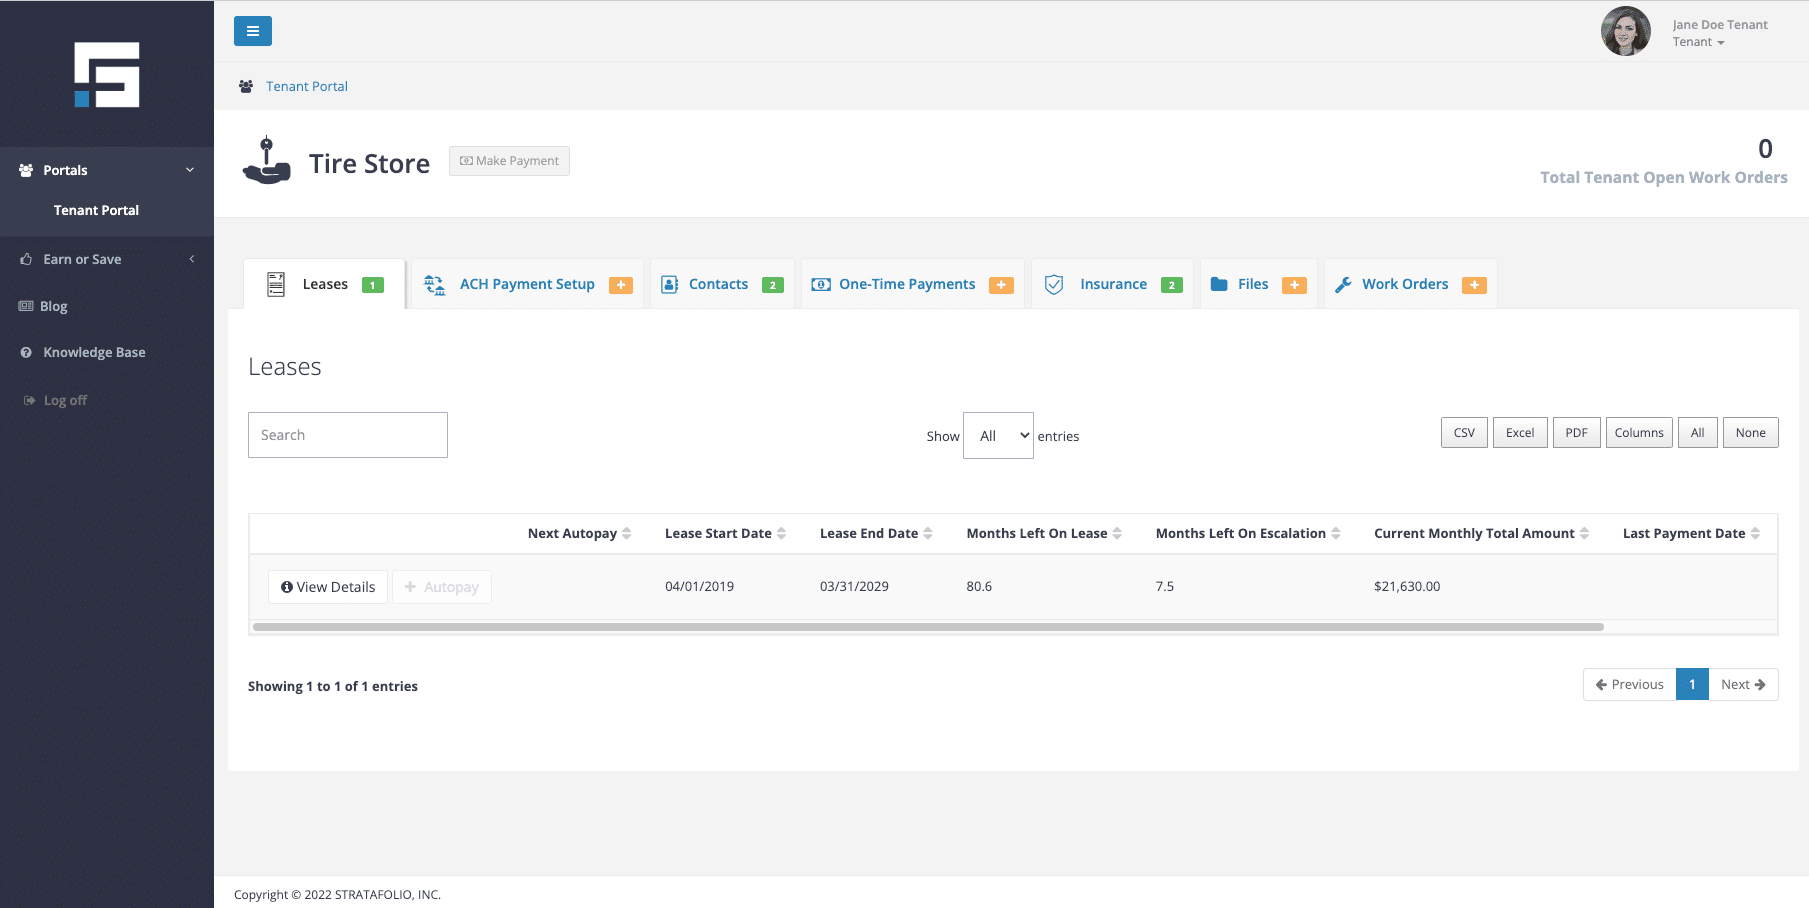
You have 24 hours from when your landlord/owner invites you to your tenant portal to accept the invitation. You will receive an email invitation from STRATAFOLIO. This is what your portal will look like when you first log in:
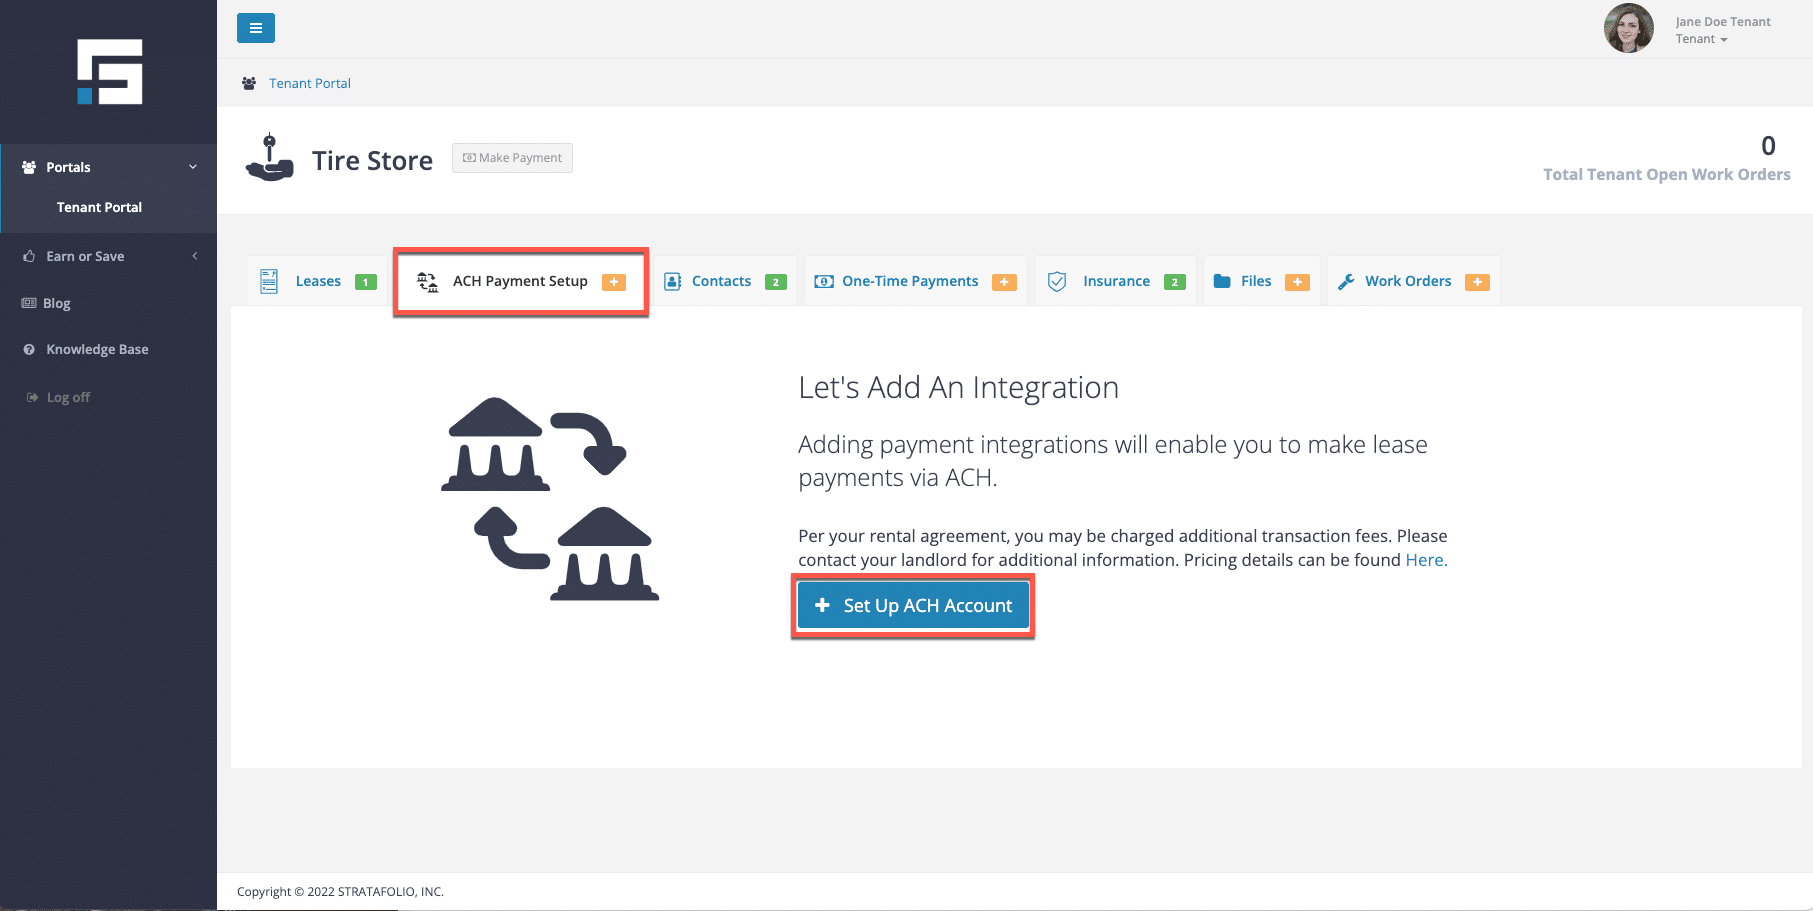
2. Complete ACH Payment Setup
First, you will complete the ACH Payment Setup. To do this, click on the ACH Payment Setup tab and click Set Up ACH Account.
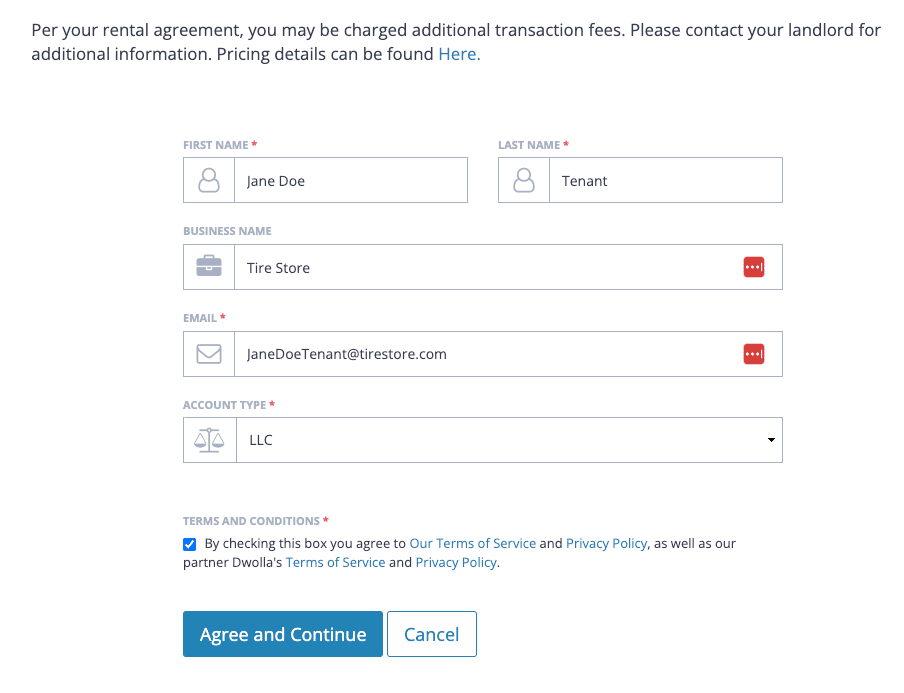
Fill out the requested information. Read the terms and conditions, and click the box and the Agree and Continue button to continue.
3. Add a Bank Account
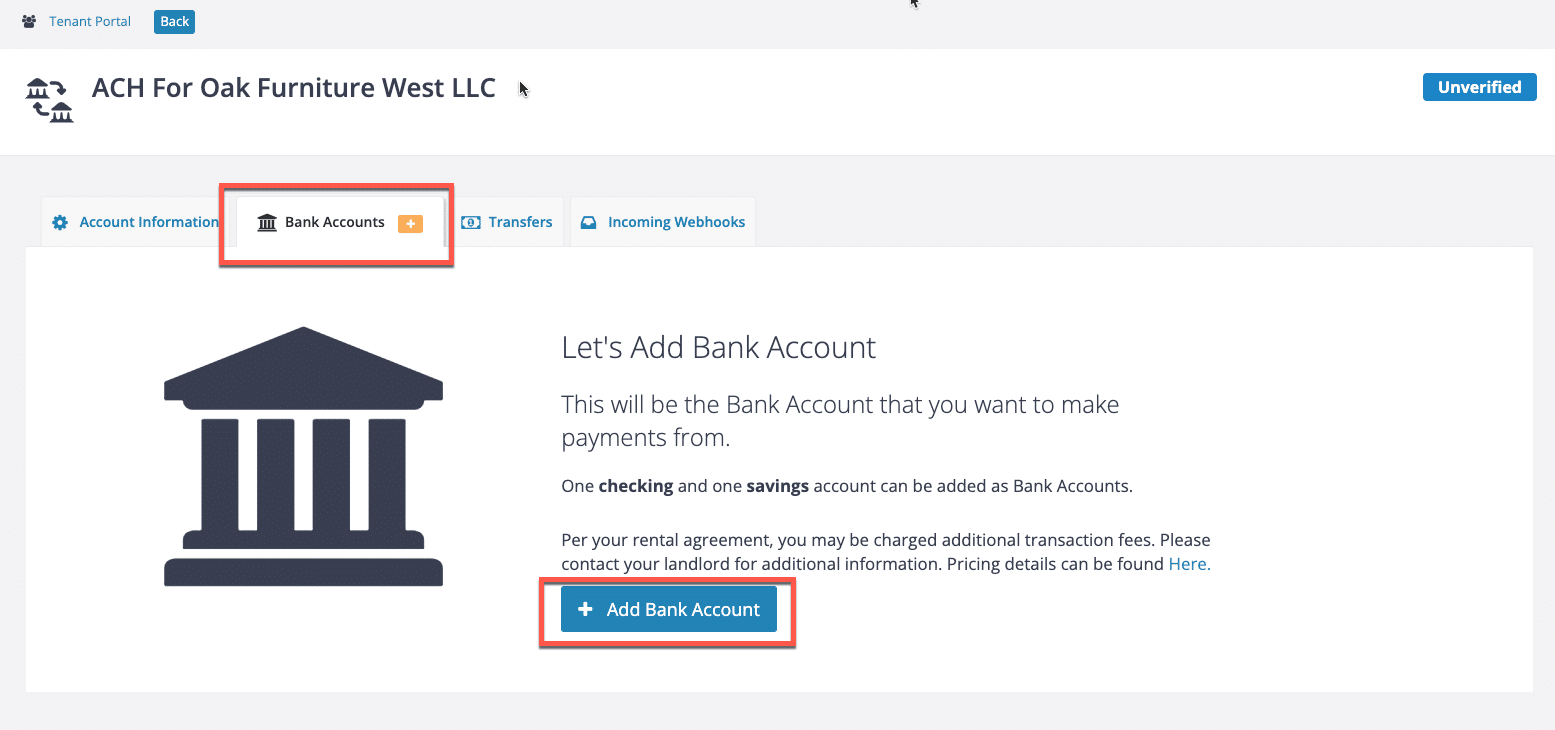
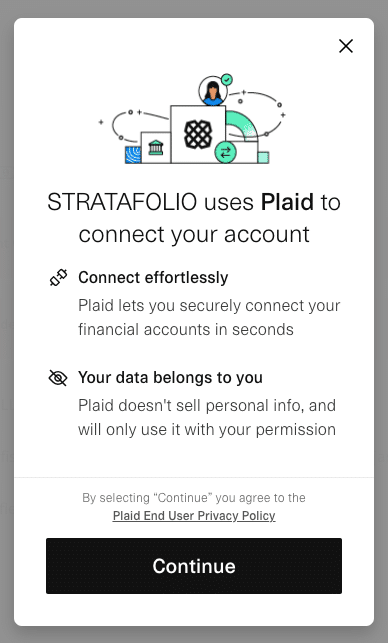
The next step is to add a bank account. STRATAFOLIO uses Plaid to make the setup safe. Click Add a Bank Account button and complete the steps as follows:
NOTE: You can find the Add a Bank Account button in two locations: the ACH Payment setup tab or the Bank Account tab within the payment integration.
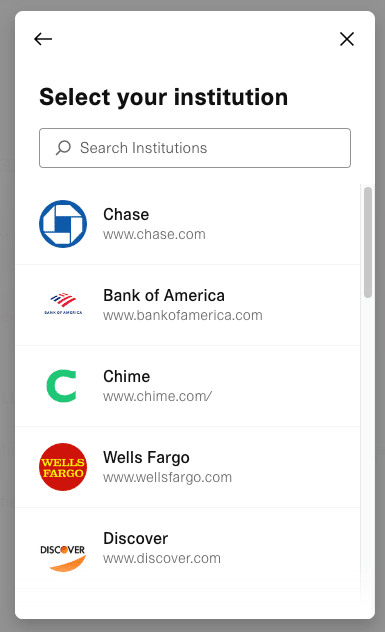
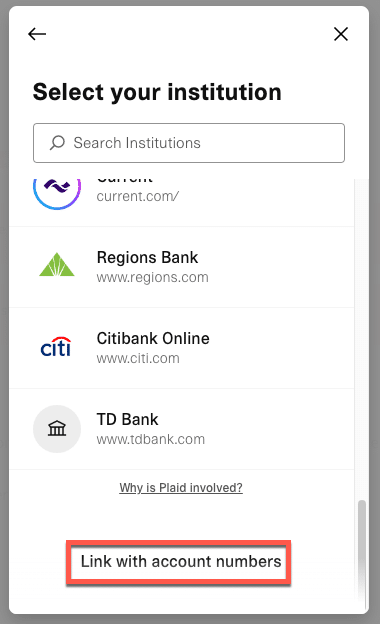
WARNING: When searching for your lending institution, ensure you select the correct link. Many institutions have separate links for personal and business accounts. If you select the personal account link instead of the business account link, the bank may reject your account. It is important to double-check before proceeding to avoid delays in the setup process.
If you cannot find your lending institution on the list or through the search function, you can still link it manually using your account numbers.
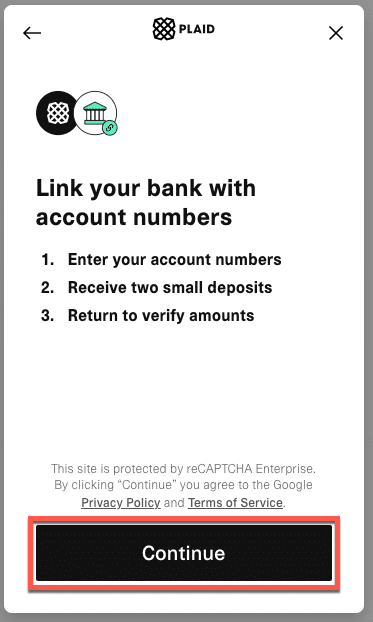
To add the accounts manually, you’ll need to:
- Provide the account number, routing number, and the first and last name of the account holder listed on the account you’ll be using.
- After you verify and approve your account numbers, you’ll receive two micro-deposits of $0.99 or less in the provided account within a few days. It is crucial to verify your account promptly since the system will automatically remove the micro-deposits if the account is not verified within a few days.
- Once you receive the micro-deposits, you must return to STRATAFOLIO to verify your account. There, you will need to enter the two deposit amounts. If the amounts match, your account will be verified and activated.
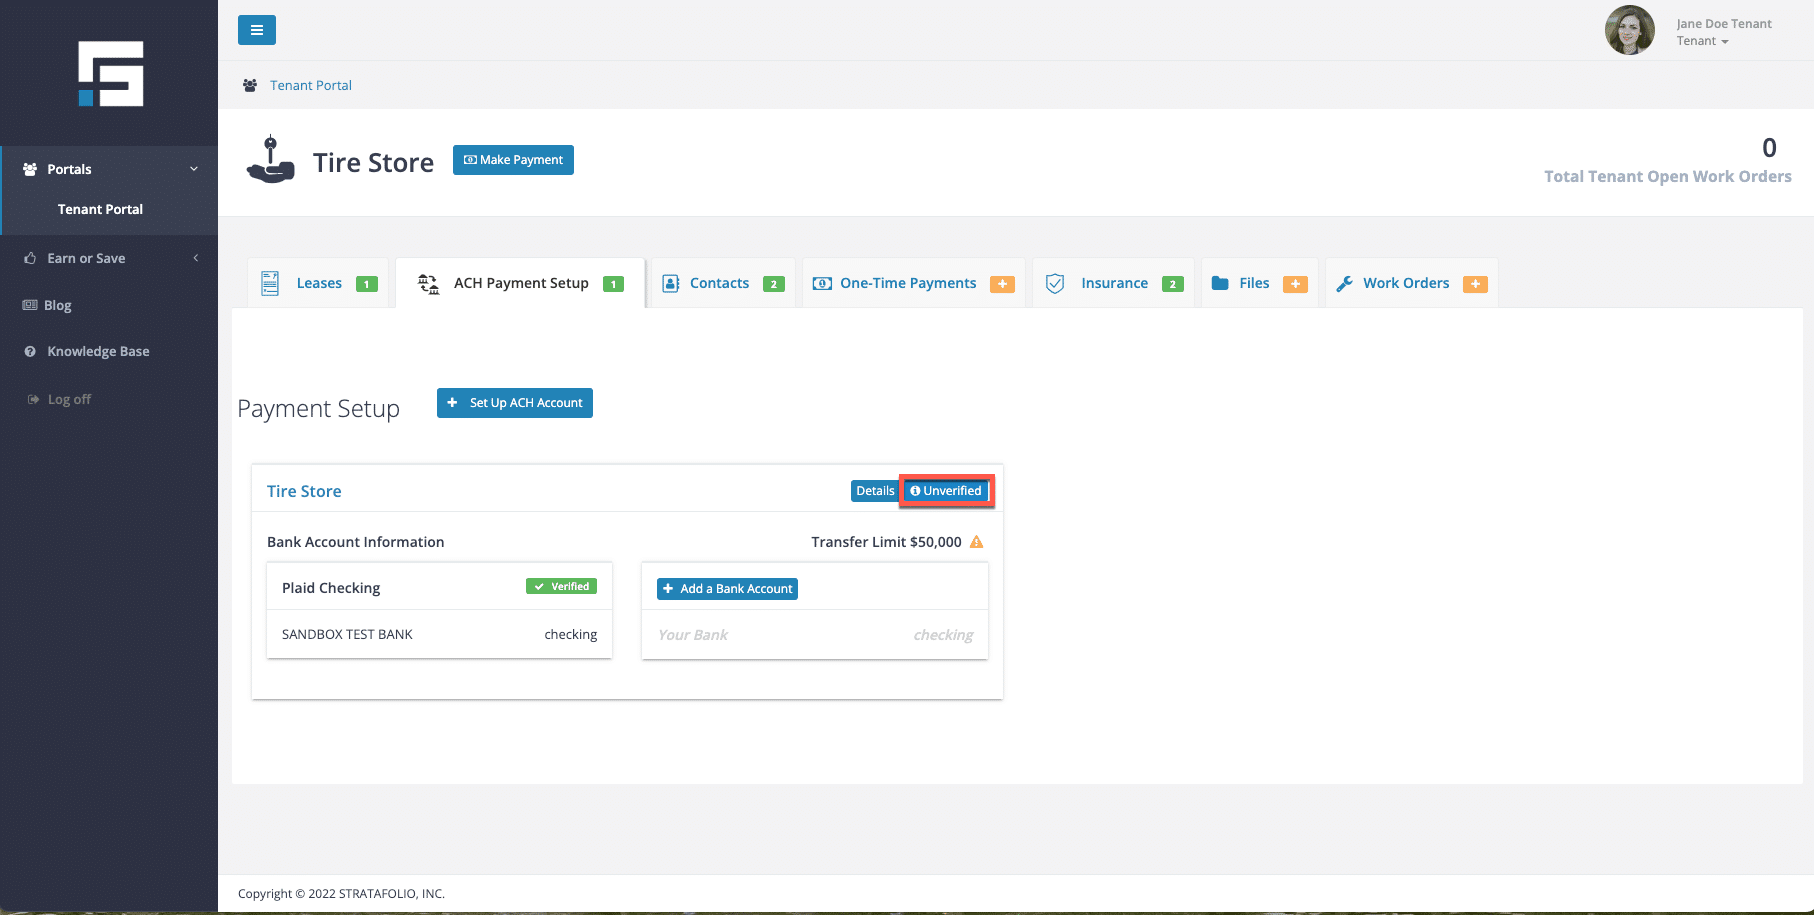
If you set up your bank account correctly, it will look similar to the image below:
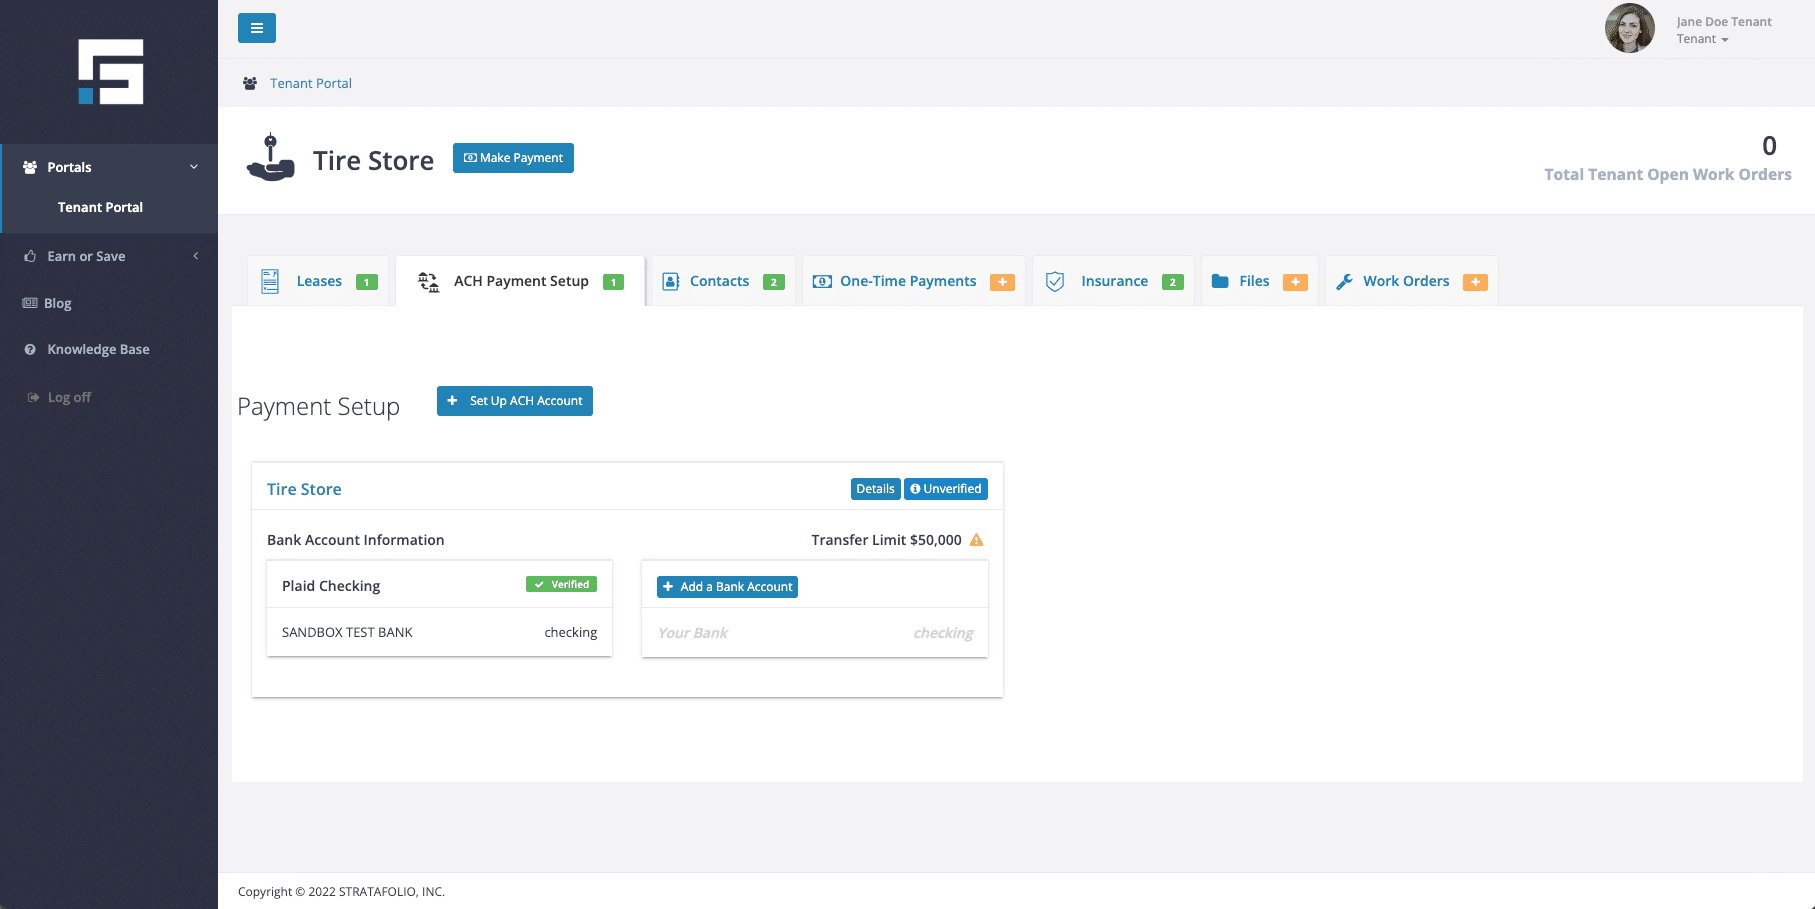
NOTE: If your transactions will be $50,000 (including applicable fees) or less, then you can skip the next step, Verify Your Account.
4. Verify Your Account
If your payment is between $50,000 and $100,000 (including fees), you will be required to verify your account.
Click on the Unverified button to begin the verification process.
Then, click Verify:
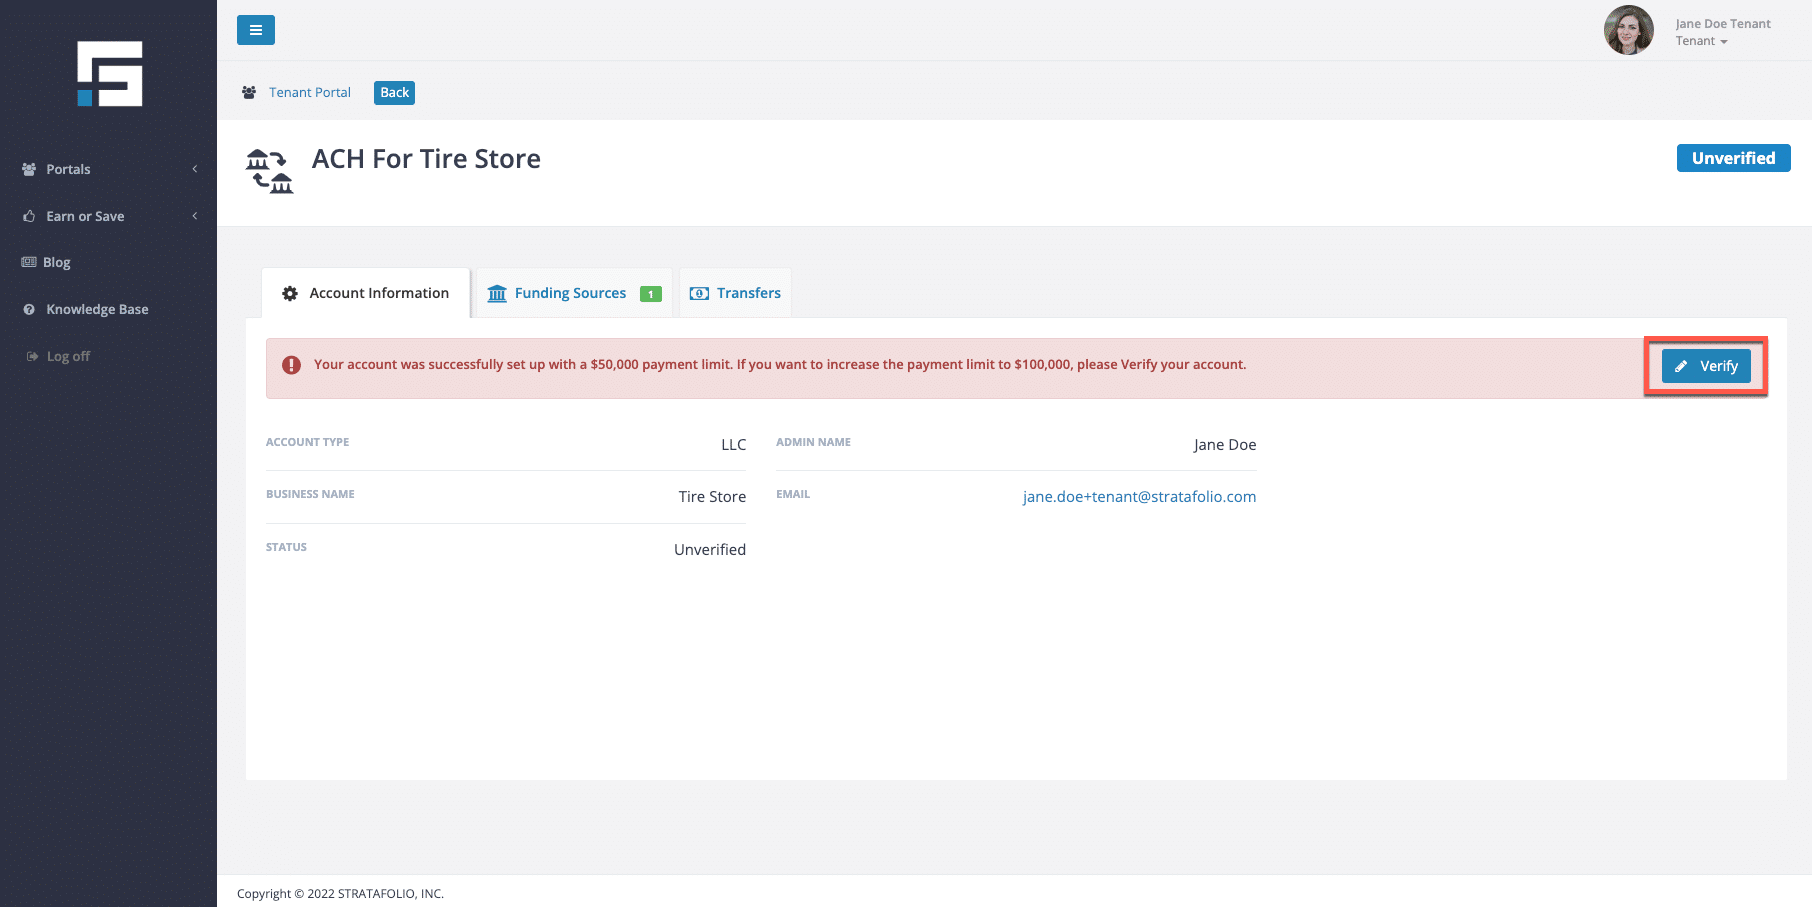
Complete the requested information.
5. Selecting Payment Type- Autopay or One-Time Payment
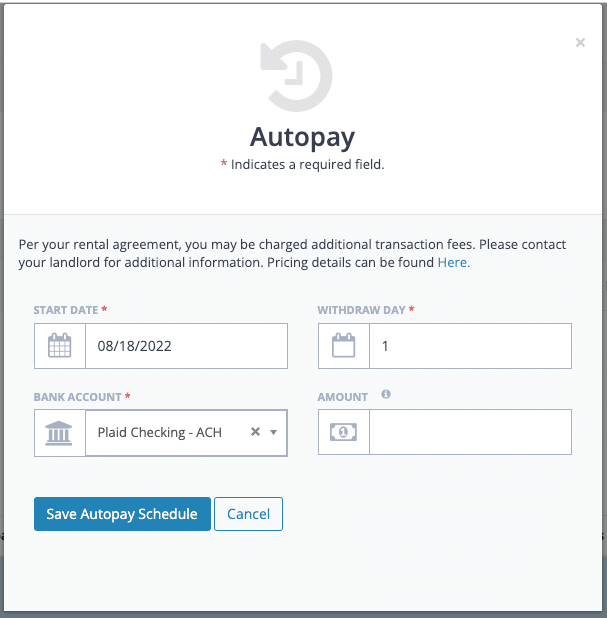
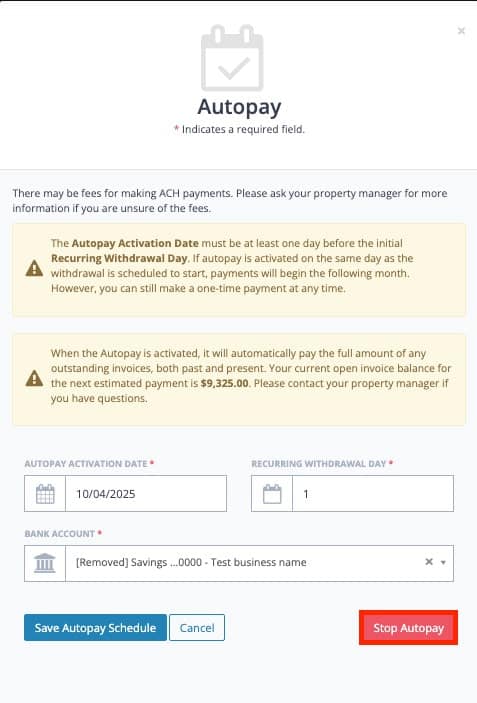
To set up AUTOPAY, select the + Add Autopay button on the Leases tab.
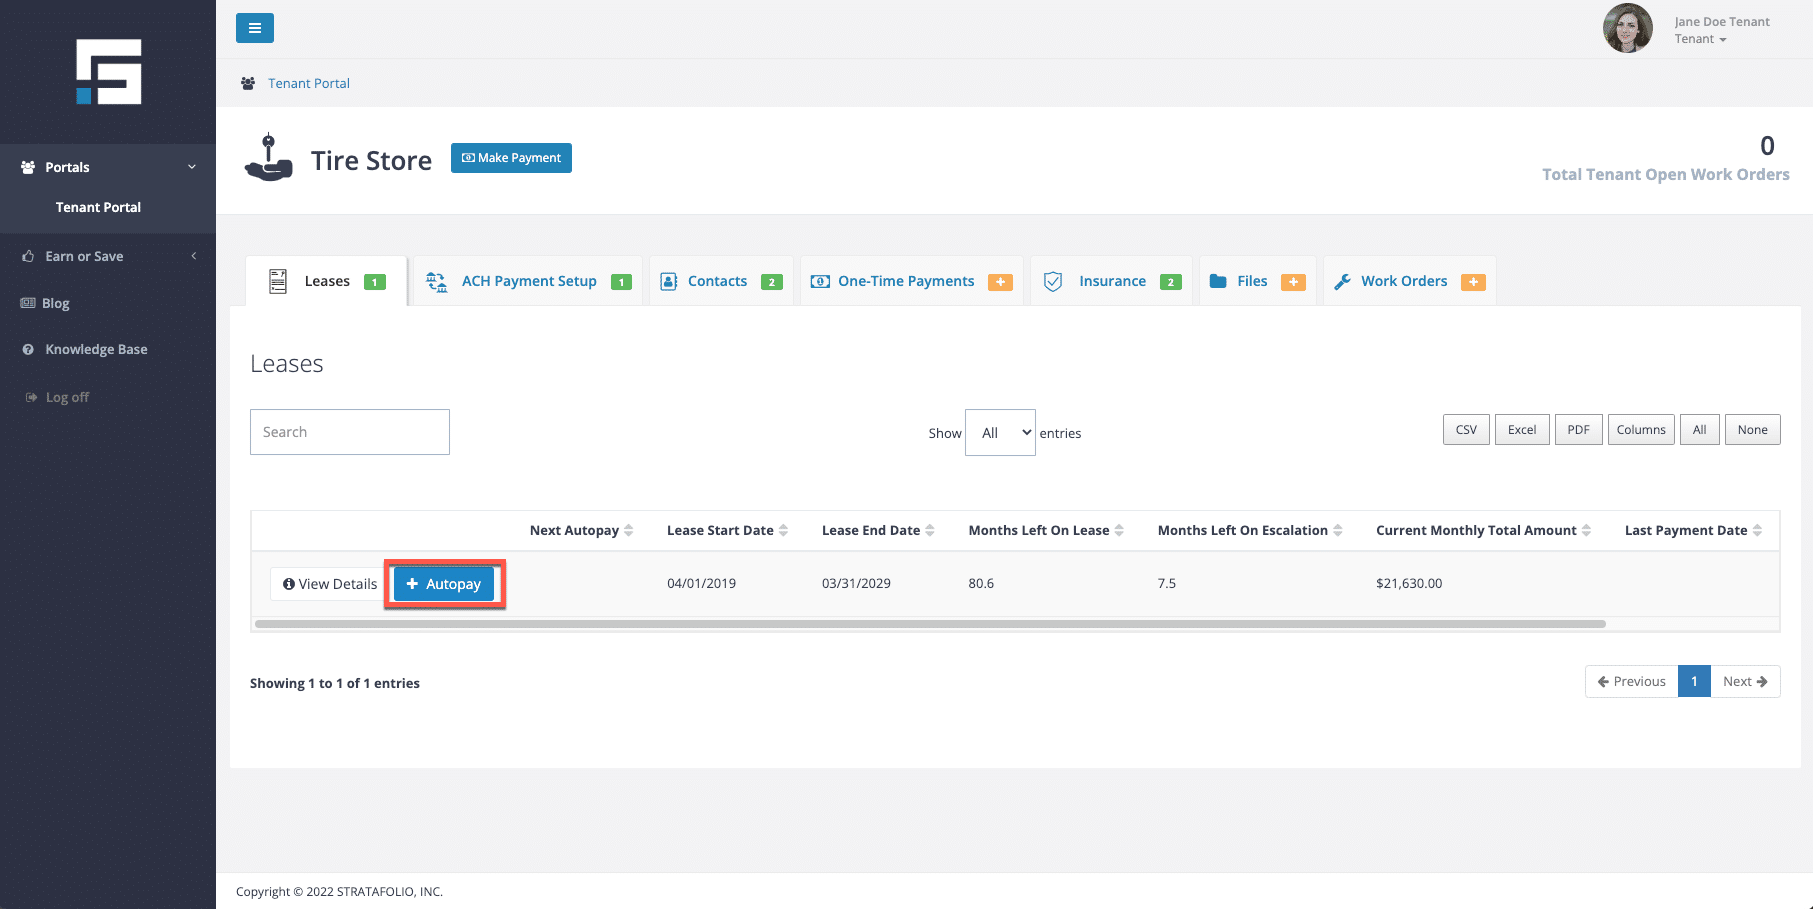
Next, enter the date, withdrawal day, bank account, and amount.
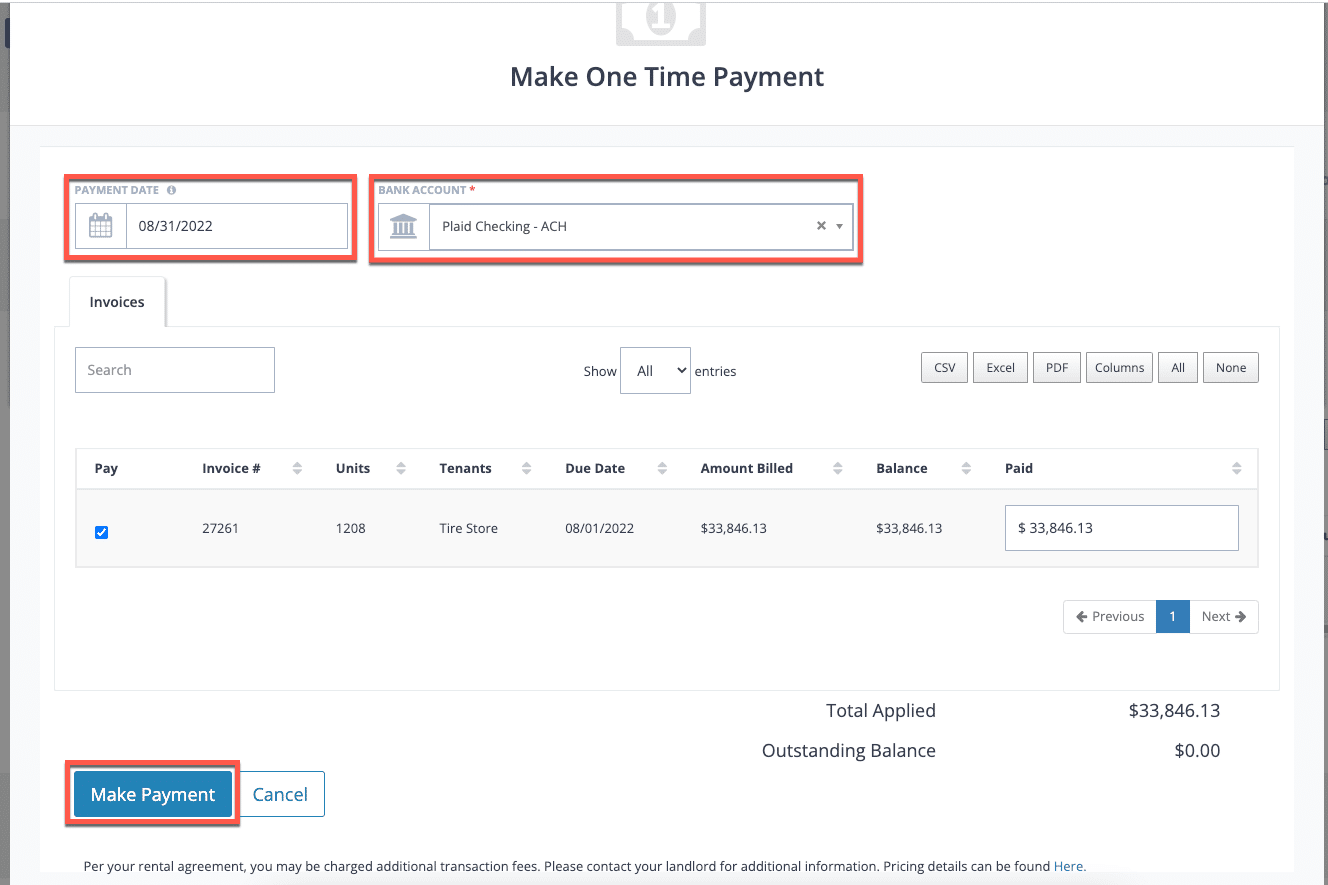
To set up a ONE-TIME PAYMENT, select the + Make Payment button on the Leases tab.
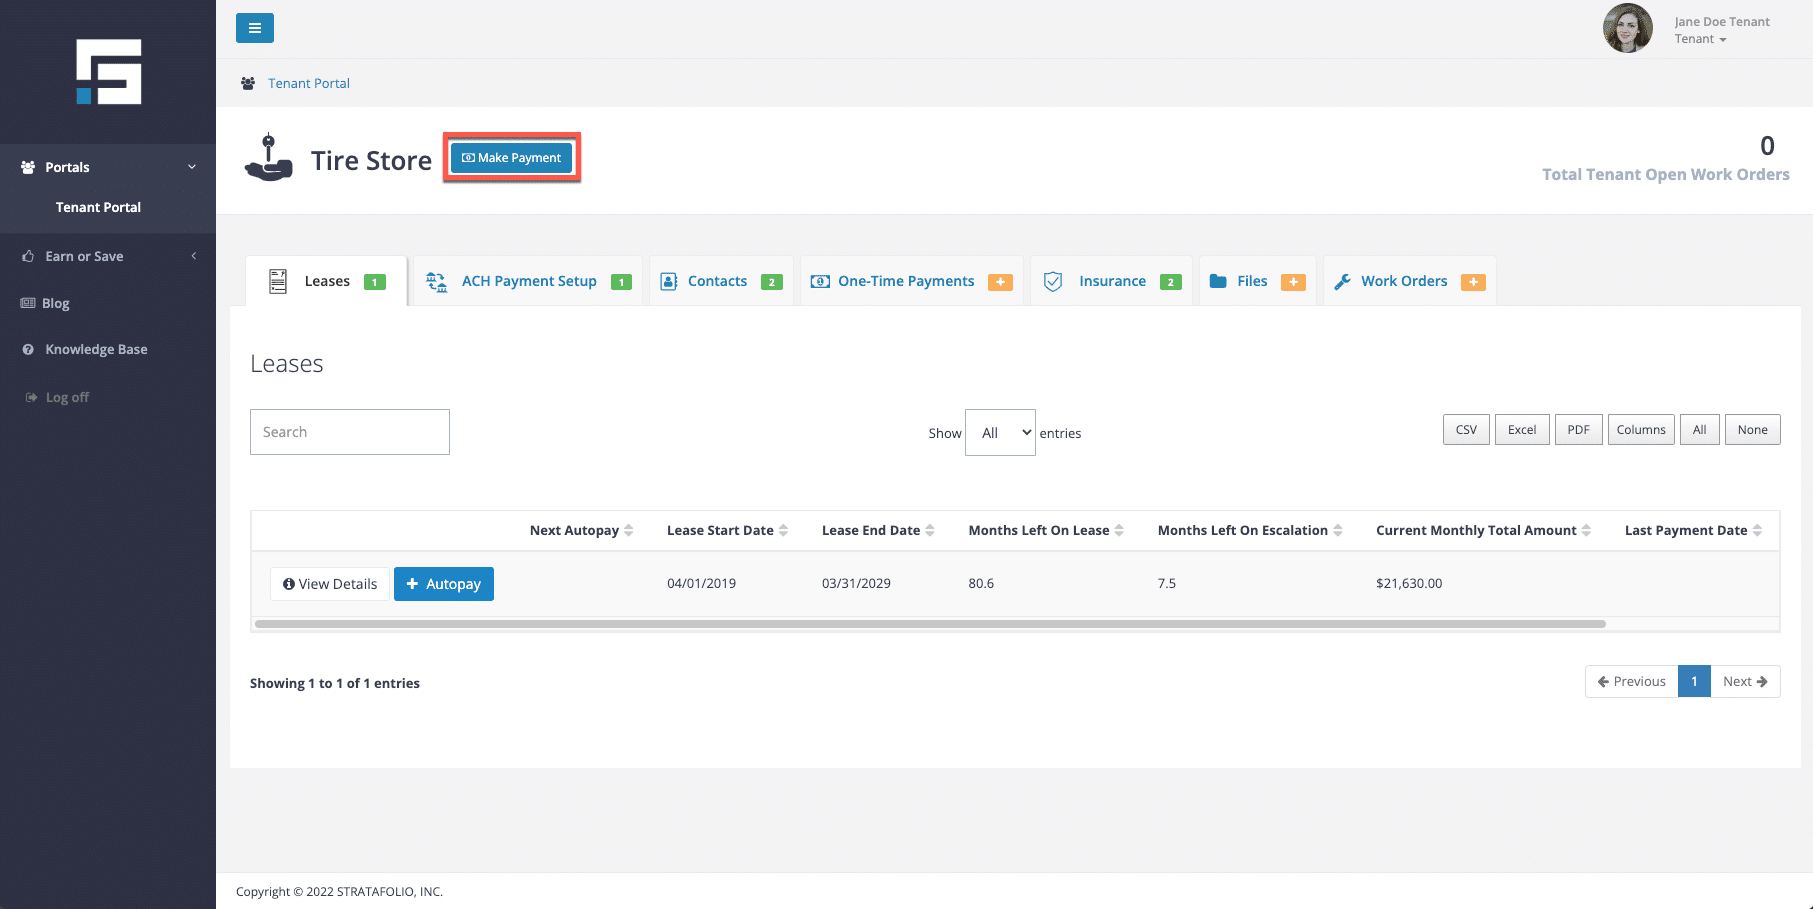
Follow the steps to set up a one-time payment.
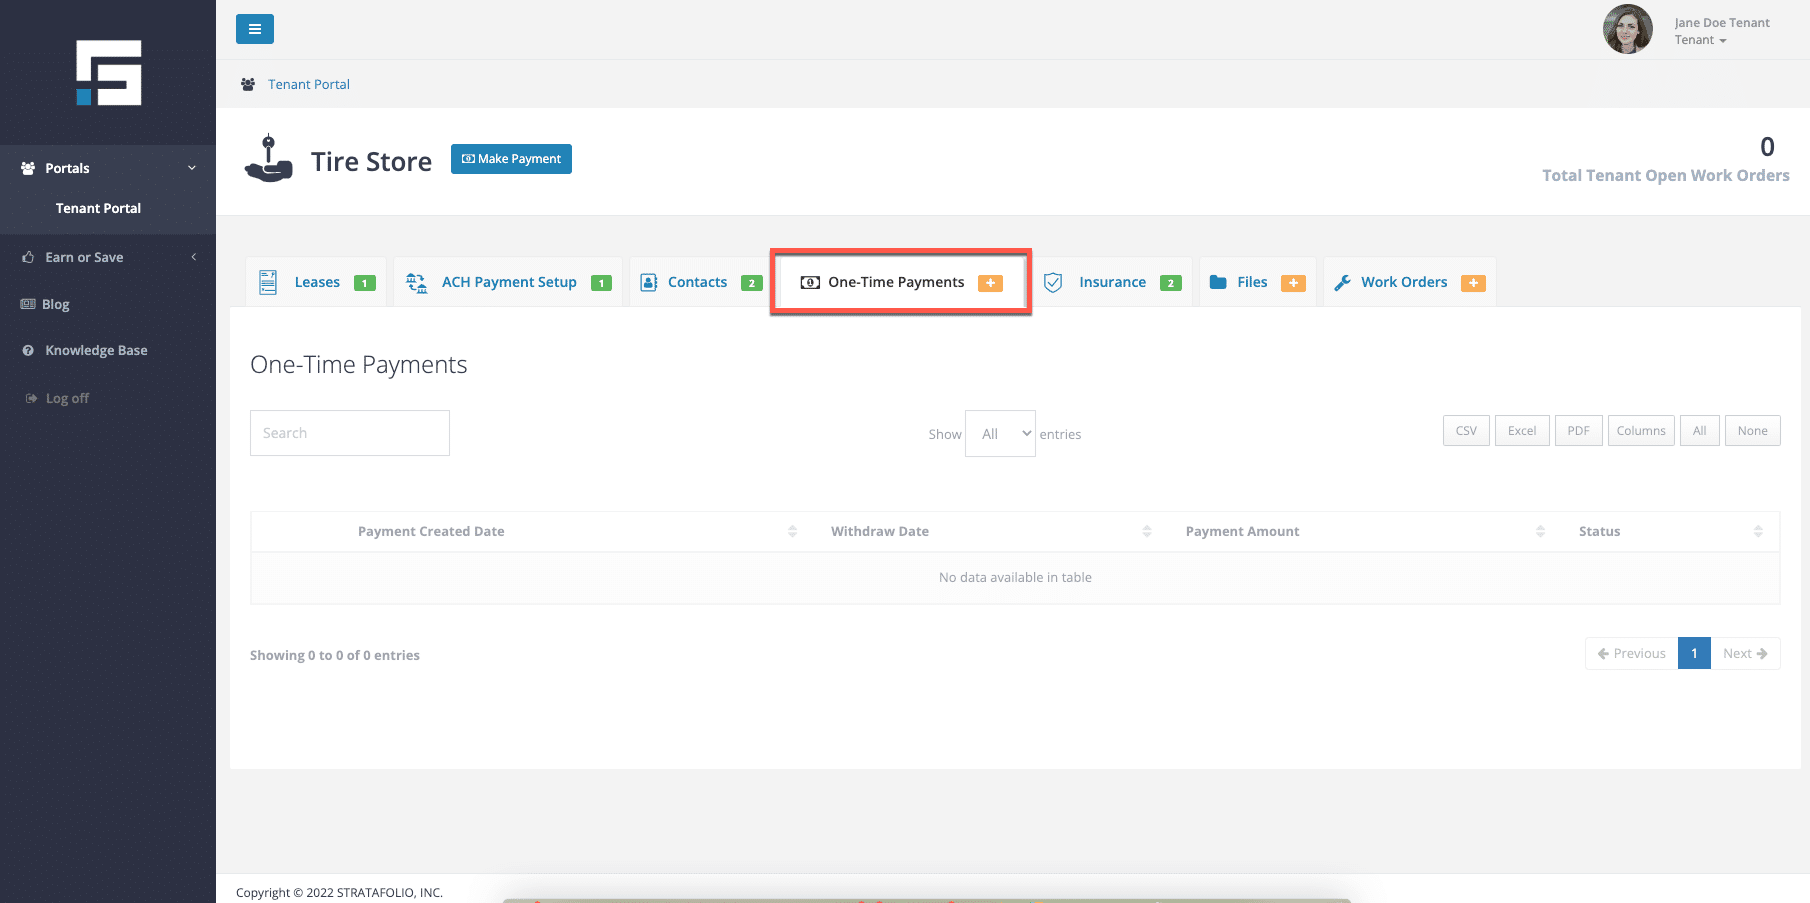
You can see a historical view of all your one-time payments on the One-Time Payments tab.
How Much Will ACH Cost Me
There may be fees for making ACH payments. Please ask your landlord for more information if you are unsure of the fees.
How to Stop Future ACH Payments as a Tenant
There may be situations where you or your tenants no longer want to process payments through STRATAFOLIO’s ACH integration. For example, payments may be handled outside the system, or issues with autopay limits may require ACH to be disabled. In these cases, you can stop ACH autopay to ensure no future payments are made through STRATAFOLIO.
Stopping ACH Autopay
To prevent future ACH payments from being processed, tenants must stop their autopay settings in the Tenant Portal.
Steps to Stop Autopay:
- Log in to the Tenant Portal.
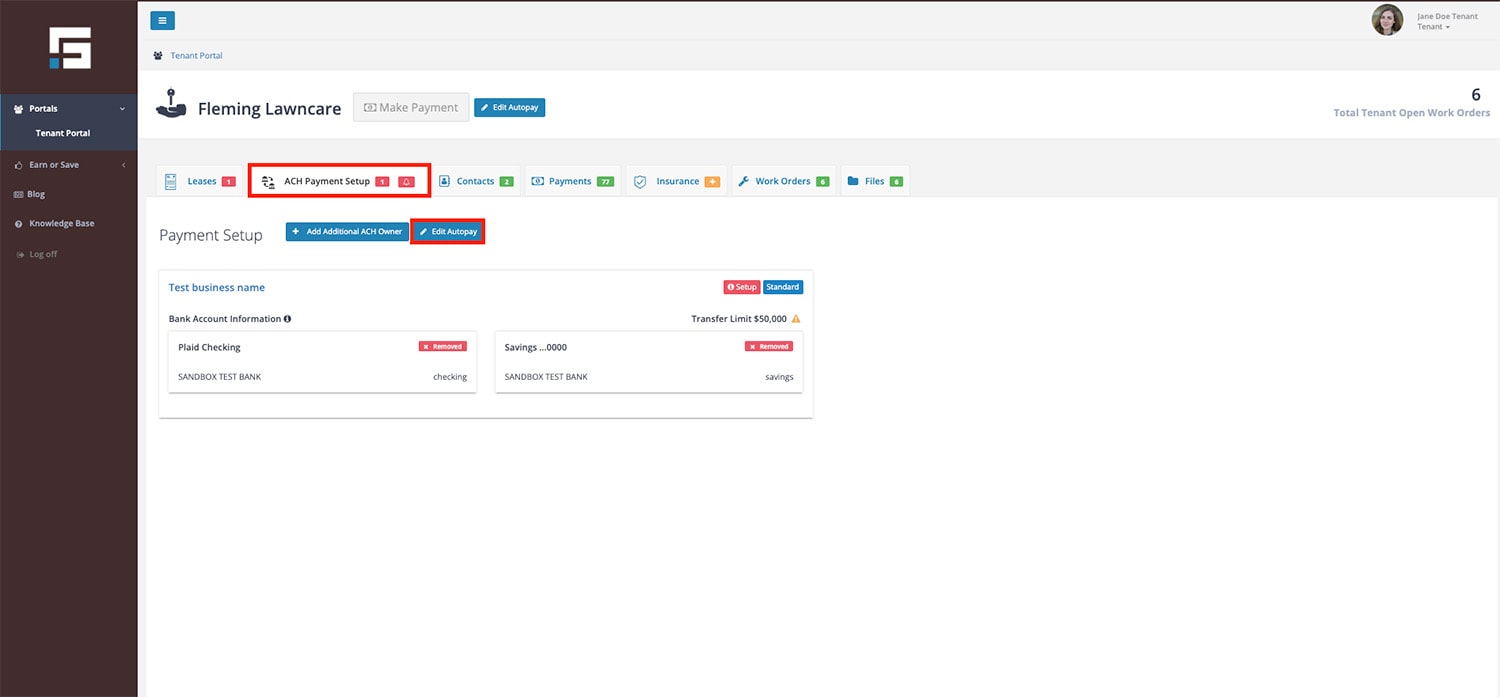
- Select the ACH Payment Setup tab.
- Select Edit Autopay.
- Select Stop Autopay.
Once stopped, STRATAFOLIO will not attempt to run ACH autopay for future invoices. Tenants may still make one-time ACH payments if needed, but recurring payments will no longer process automatically.
Troubleshooting ACH Issues as a Tenant
Sometimes an ACH payment may fail or not process as expected. Here are common issues and solutions:
- Autopay Limit Too Low
- If the tenant’s maximum autopay limit is less than the invoice balance, the system will not process the payment.
- Example: If an invoice totals $6,066.84 and the autopay limit is $3,033.42, STRATAFOLIO will not process the payment.
- Solution: The tenant must either increase their limit or make a one-time payment to cover the full amount.
- Invoice Not Finalized
- Autopay only processes finalized invoices. If an invoice is still pending, the system will skip it.
- Solution: Ensure invoices are finalized in STRATAFOLIO before the autopay date.
- Timing of Invoice vs. Autopay Date
- If an invoice date is later than the scheduled autopay date, the payment will not run.
- Solution: Verify that invoice dates align with autopay schedules.
- Pending Transfers
- If an ACH transfer is already pending (e.g., expedited processing), it will continue unless stopped by the bank.
- Solution: Contact your bank to cancel a pending ACH transfer.